Simple steps to get your action camera, mobile device and Seavu kit ready for livestream and capture amazing underwater footage.
Quick Start Guide
Step 1: Set Camera WiFi
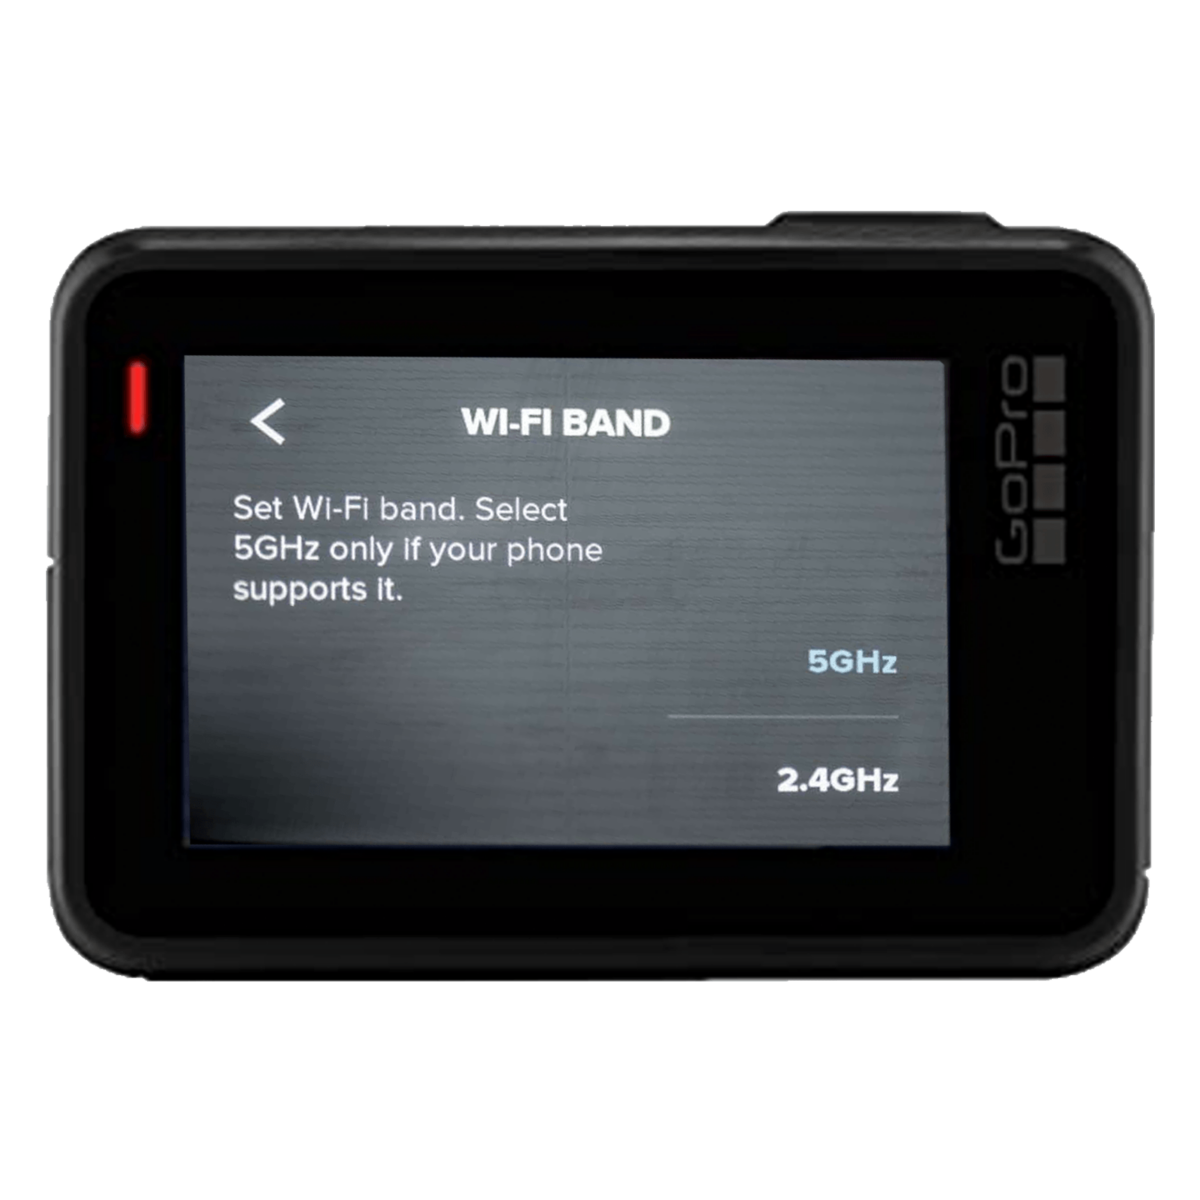
- Set your action camera’s WiFi frequency to 2.4GHz. See our Setting Camera WiFi Frequency to 2.4GHz guide for instructions.
Step 2: Mounting the Camera
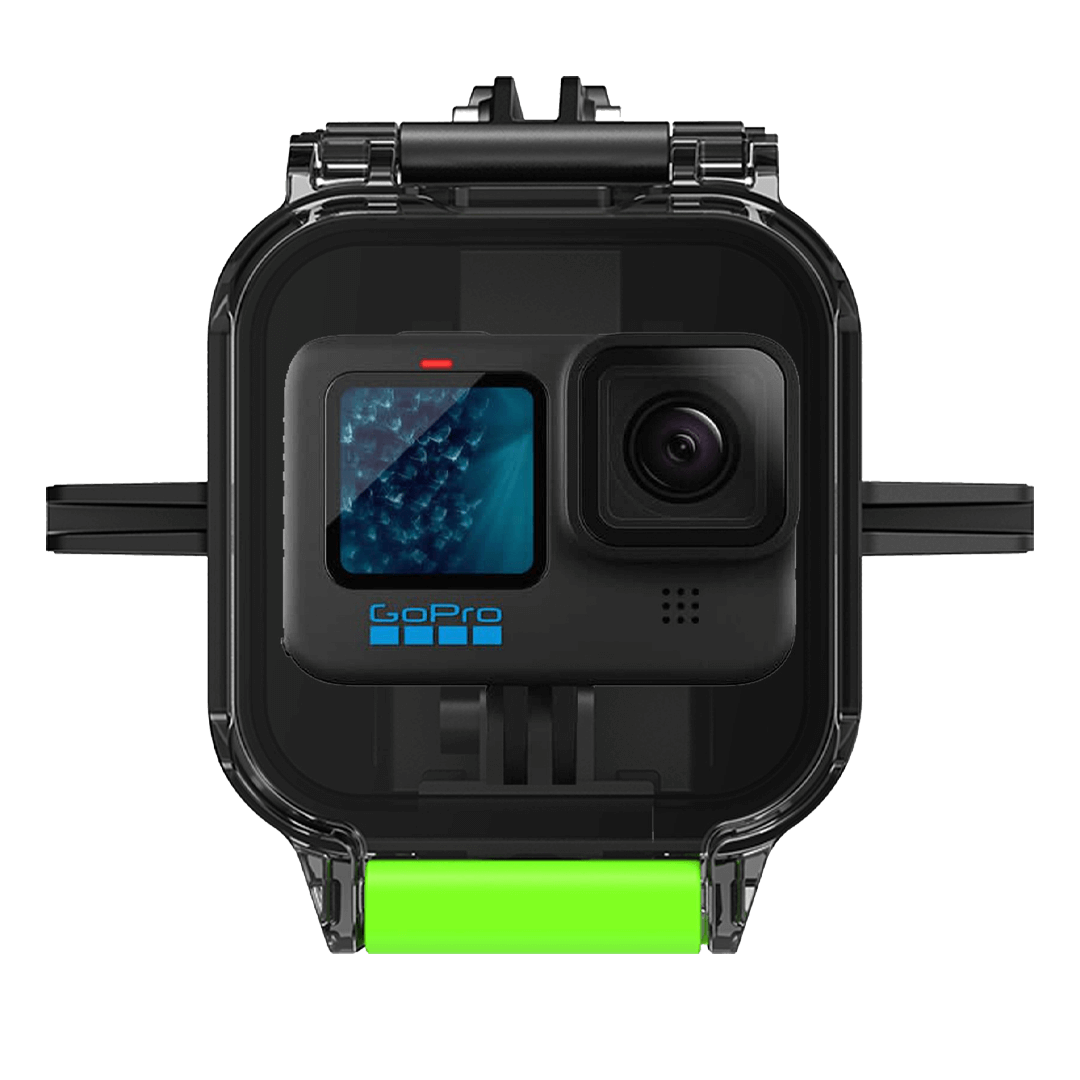
- Secure the action camera to the Explorer camera mount. Then slide it into the Explorer, and securely close.
Step 3: Connectivity Setup
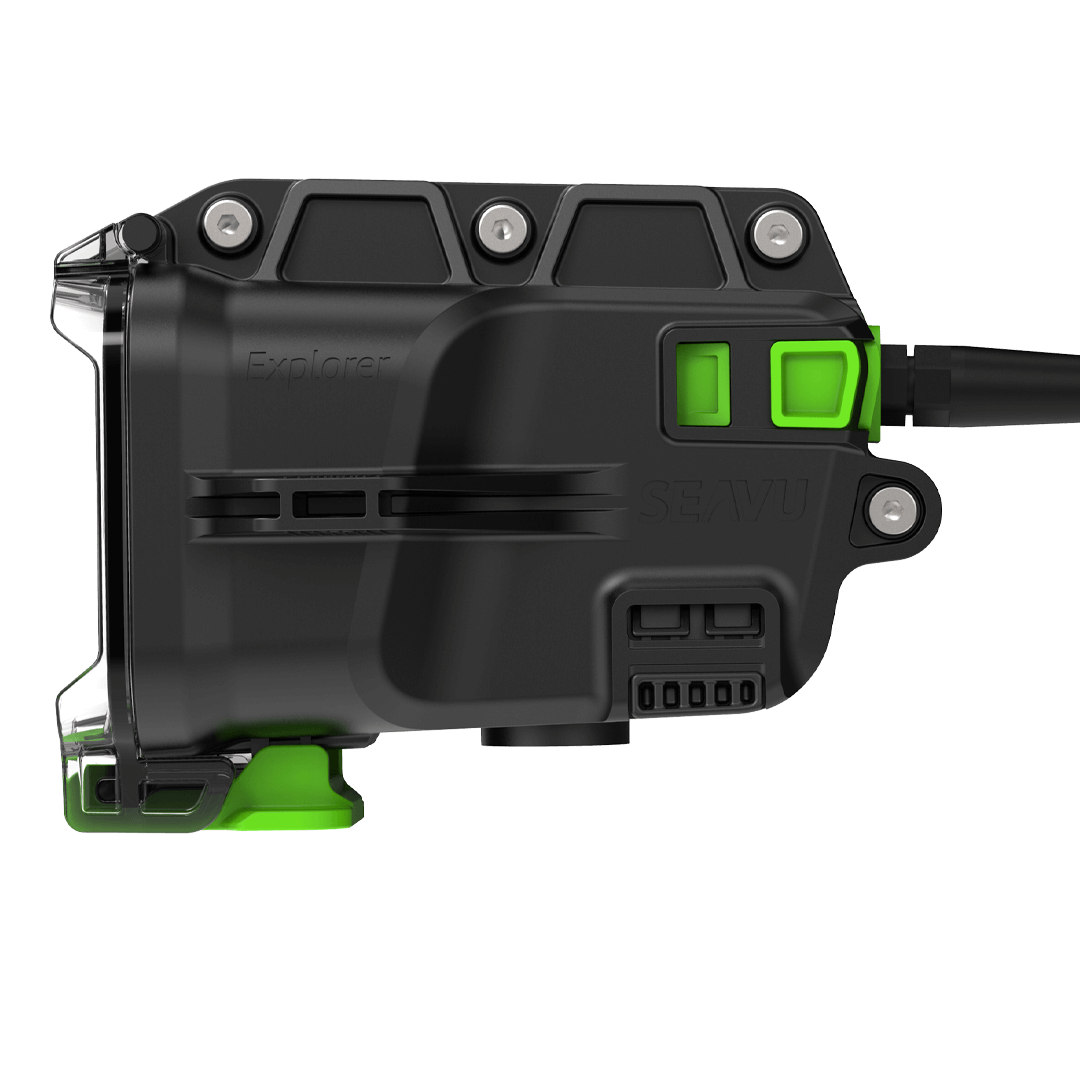
- Insert the green livestream cable receiver into the Explorer’s receiver dock. Then attach the strain relief clip to the anchor point.
Step 4: Accessorise
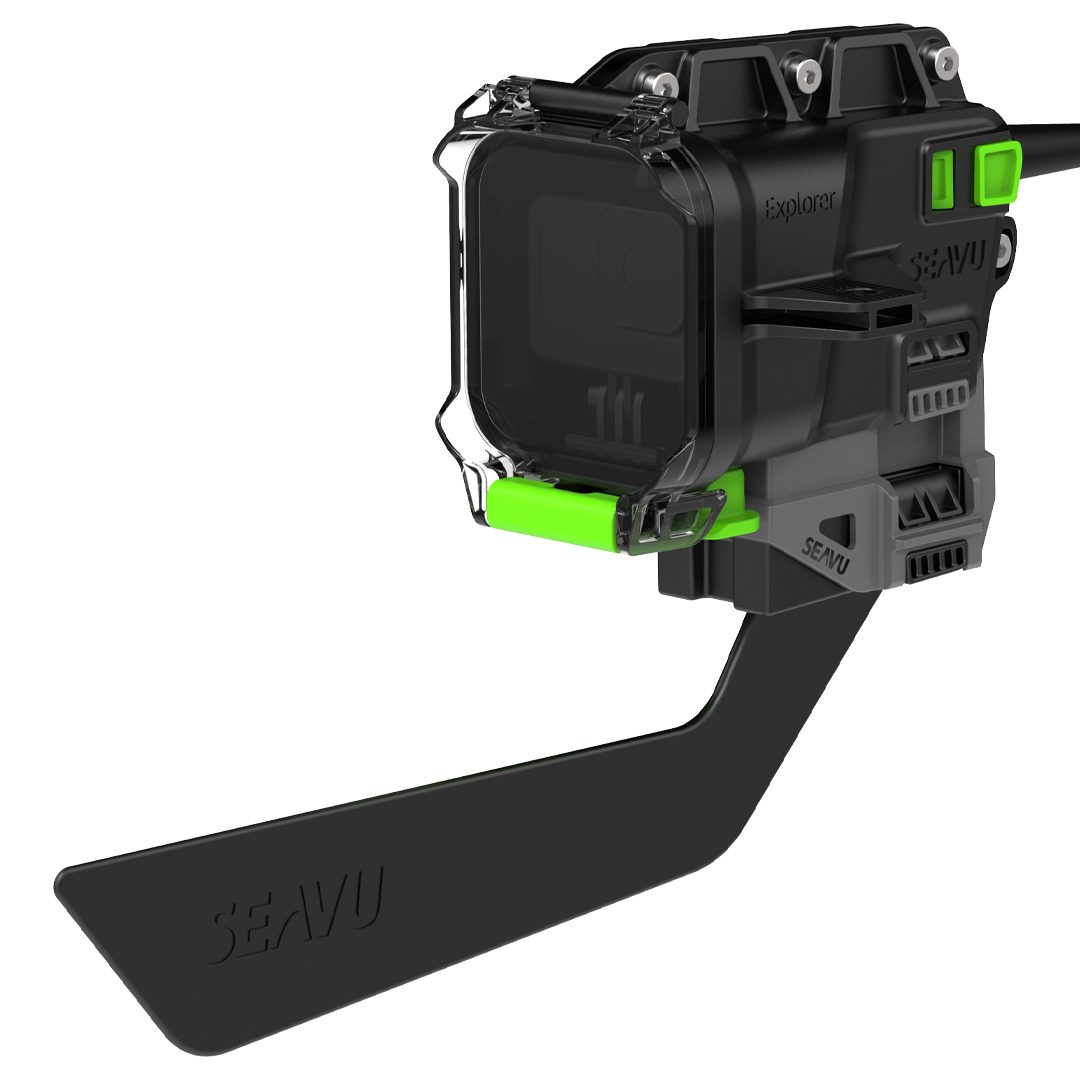
- Attach any desired accessory to the Explorer to enhance its functionality.
Step 5: Prepare for Livestreaming
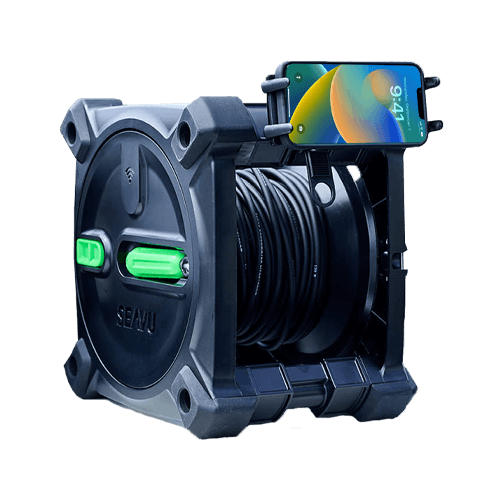
- Cable Reel: Place your phone into the phone mount fixed onto the reel and rotate the Wi-Fi transmitter to the UP position for optimum signal.
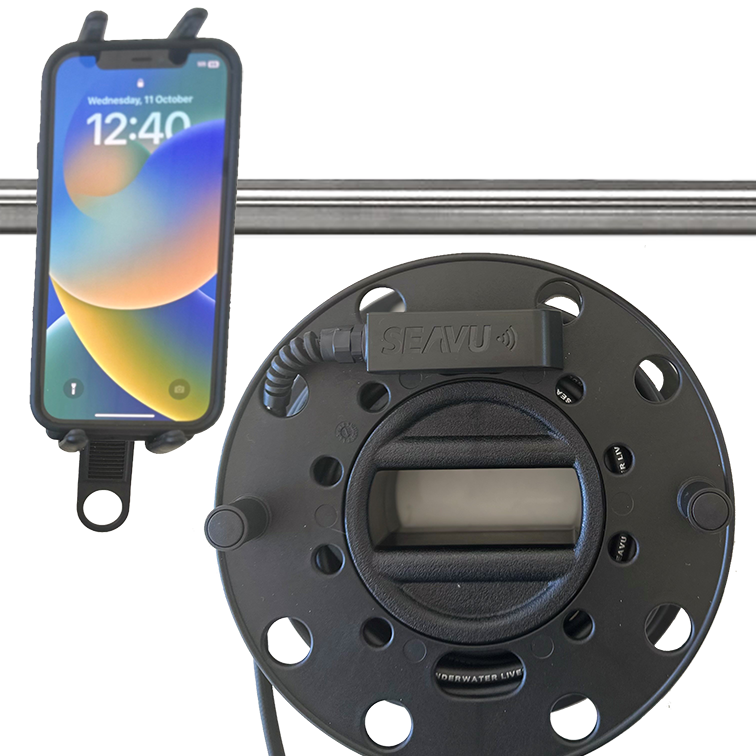
- Hand Reel: Mount your phone on the boat rail and position the hand reel no more than 1/2 meter apart. For the best connection, keep the phone and hand reel as close as possible.
Step 6: Enable Livestream
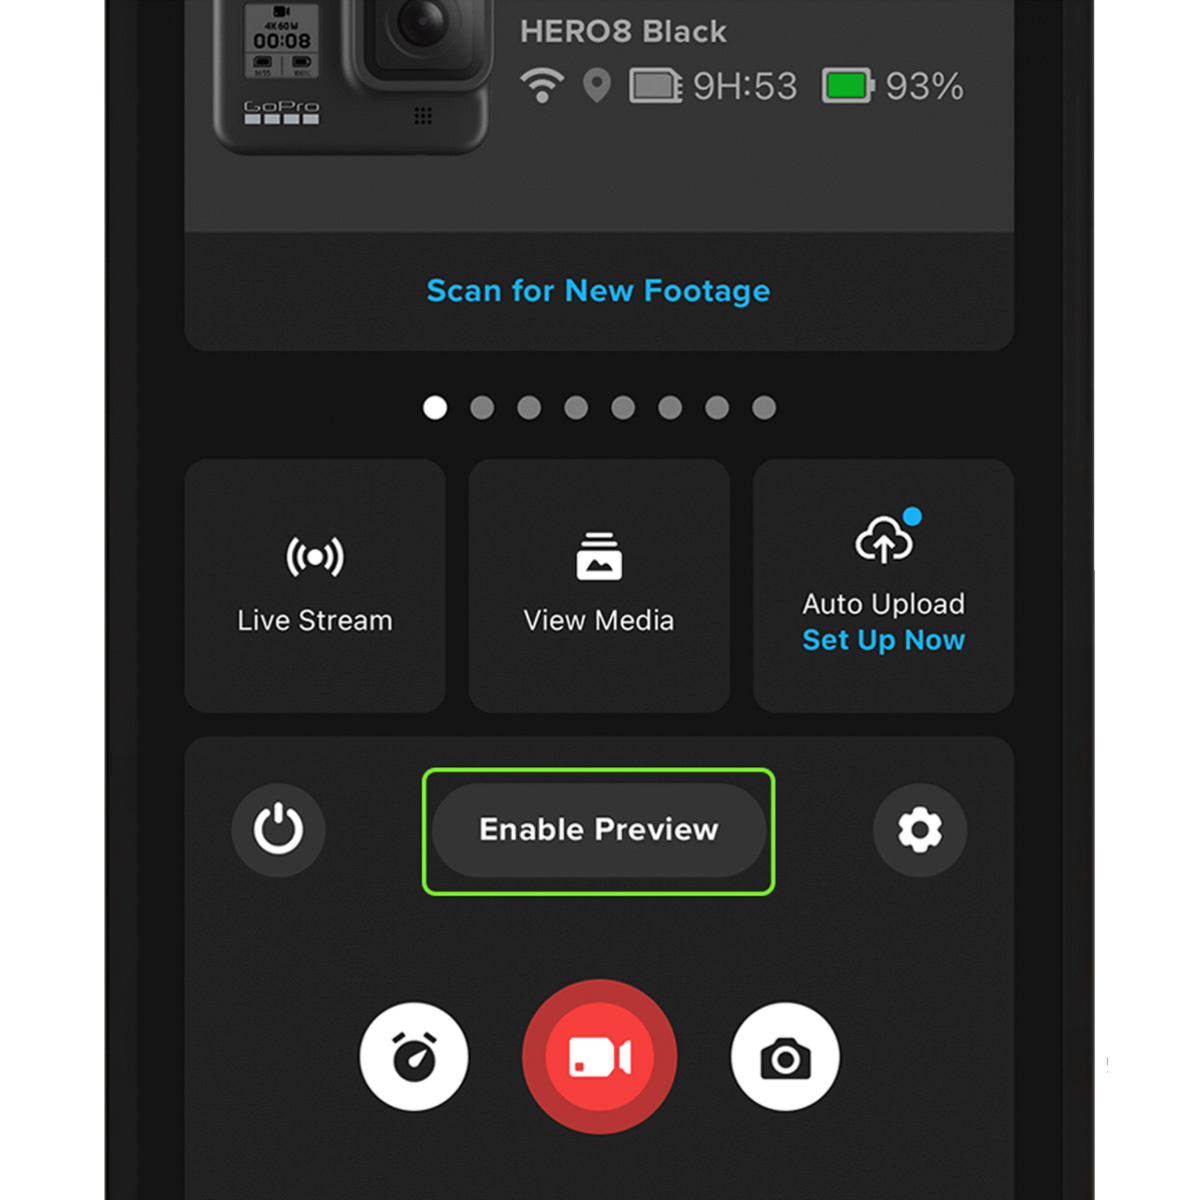
- Select the ‘Enable Preview’ on the camera app to start livestreaming the footage.
The Seavu system uses official action camera apps to livestream and control settings while underwater. See the App Requirement Guide for the list of official apps.
Step 7: Deploy the Explorer

- Launch your Explorer for your underwater adventure.
Camera compatibility

For additional details on camera compatibility and livestreaming options while recording, see the Camera Compatibility section


